Test Driven Development (TDD) – C# – Introduction and Setup (part 1 of 5)
This series of articles documents what I have learnt building the initial stages of a relatively simple application to retrieve information from Contentful’s API (I know they have an SDK, but handling HttpClient within the context of TDD was part of what I wanted to learn) and then displaying it on a Blazor Server frontend.
I’m documenting this, for the most part, in the order I did it. Due to the size of the topic, I’m splitting it into multiple parts with links to the next article included at the bottom of each article.
The primary purpose of this project was to learn and try TDD but, ultimately, I also wish to move my blog off WordPress so this is the first building block in developing that real-world application.
The code from this blog is available on GitHub with branches covering the various stages to allow you to follow along if desired. The default branch will only include the initial projects and NuGet packages referenced in “Initial Setup” below.
TDD TL;DR
I am following the commonly used red, green, refactor approach normally used with TDD. This basically means writing a test (it fails/shows as red in test runners because the code isn’t implemented yet), writing enough code to make the test pass (green in test runners) then refactor to improve the test or code without fundamentally changing either. This process is then repeated for each new function or requirement to be added.
For the first (red) stage, some code will be needed to make the test code actually compile (e.g. creating a basic class with a method stub) but nothing more should be done. Throwing a not implemented exception in the added methods is a good way to do this.
Getting Started
This section covers an overview of what the articles and, ultimately, code will cover and the initial setup of the solution. Whilst I’ve listed all the technologies used, I did not install all of these at the outset as I wanted to build out the solution iteratively as would be done on a larger project.
Frameworks, Tools and Technologies Used
All versions used are the latest available versions at the time the projects were created or packages installed.
- .NET 7
- Blazor Server
- bUnit
- Contentful
- FluentAssertions
- Markdig
- Moq
- Visual Studio 2022
- xUnit
Contentful
This project will be using Contentful for it’s API-based data source. You can set up a free account to allow you to follow along with the process. To make life easy, set up a “Blog Article” content model and add three fields to it:
- Title (Short text)
- Summary (Long text)
- Article (Long text)
You can then create a piece of content of the type “Blog Article” for testing later.
Initial C# Setup
Firstly, I created a new solution (Demo.Tdd) with four projects:
- Blazor Server Project (Empty Template) – Demo.Tdd.Ui
- Class library (to do connect to Contentful API) – Demo.Tdd.Contentful
- 2 xUnit projects – one for each of the above – as above with .Tests on the end
I then applied any updated and then installed Moq and FluentAssertions into both xUnit projects. Finally, I created project references between the respective test and code projects.
For the most part, I won’t specifically mention some changes such as switching to top-level namespaces or tidying up using statements however you will see these changes in the GitHub repo code.
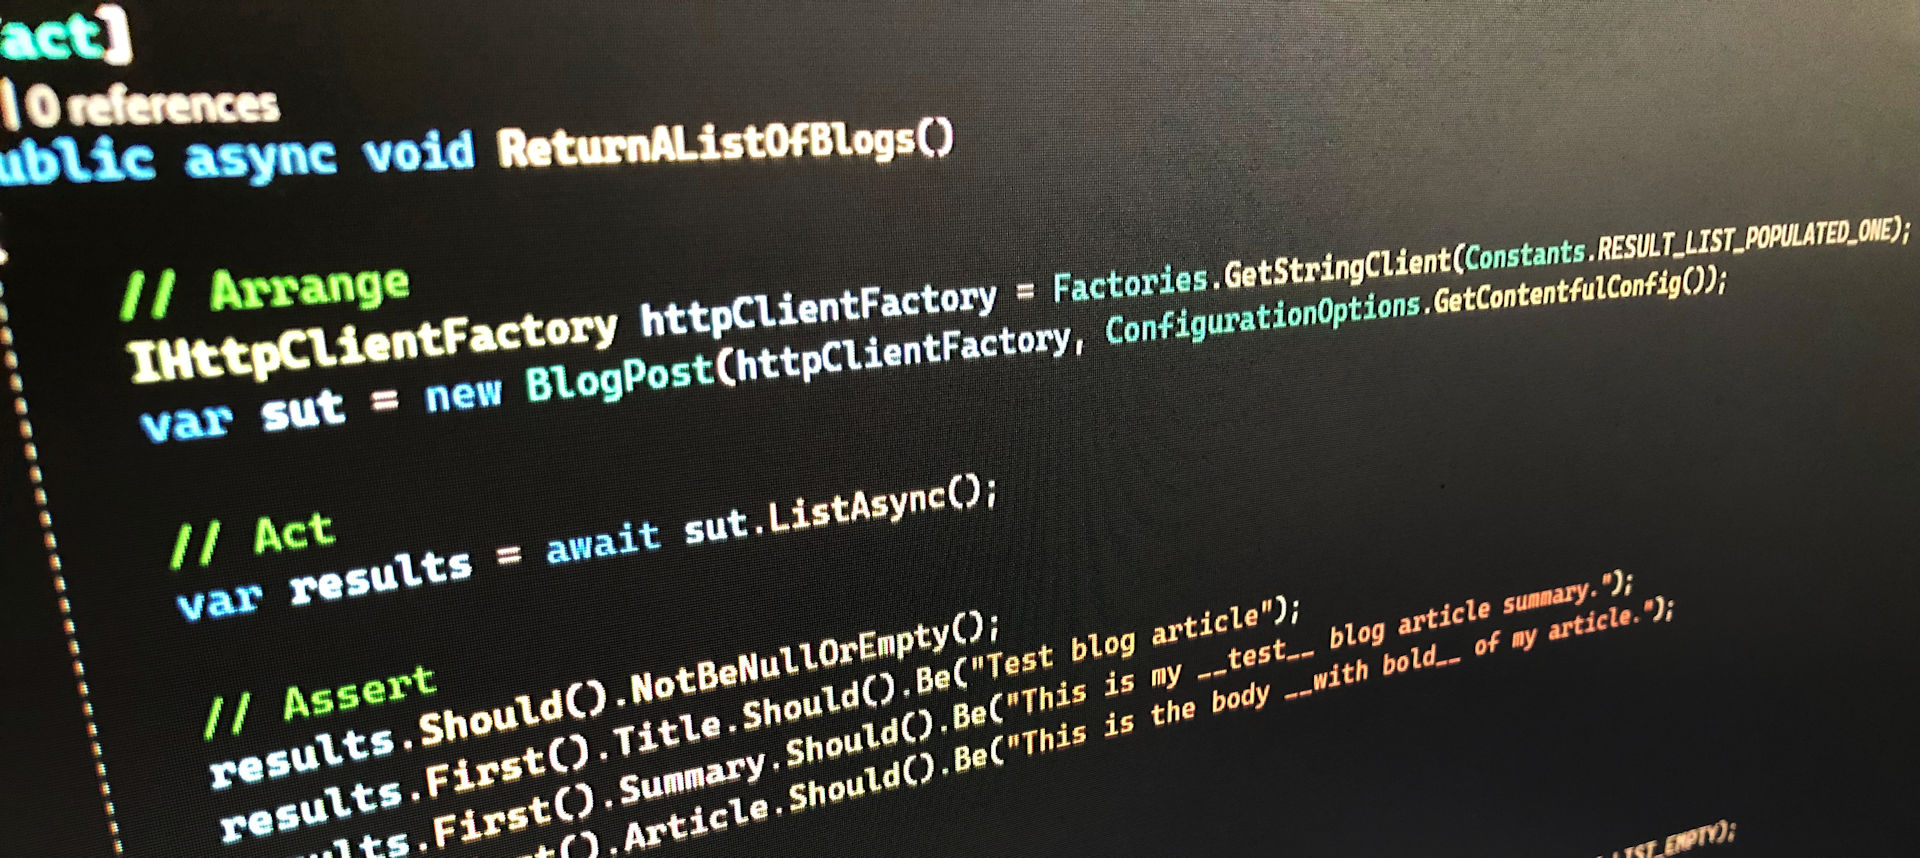
The Tests
In total, eight tests will be created throughout these articles. For convenience, I’ve listed these below and put direct links to both the article and the GitHub red-state branch (i.e. test written but failing).
- Empty List (Article | GitHub)
- Populated List (Article | GitHub)
- Configuration (Article | GitHub)
- Blog List UI When Empty (Article | GitHub)
- Listing Blogs (Article | GitHub)
- Add BlogList to Index Page (Article | GitHub)
- Handle Errors (Article | GitHub)
- Populate Title, Summary and Article from API (Article | GitHub)
Company Reviews